I use the Pattern in the picture, Just click and save as photo then print. (I know it came from Pinterest many years ago) Cut 2 of your fabric (the same or different).

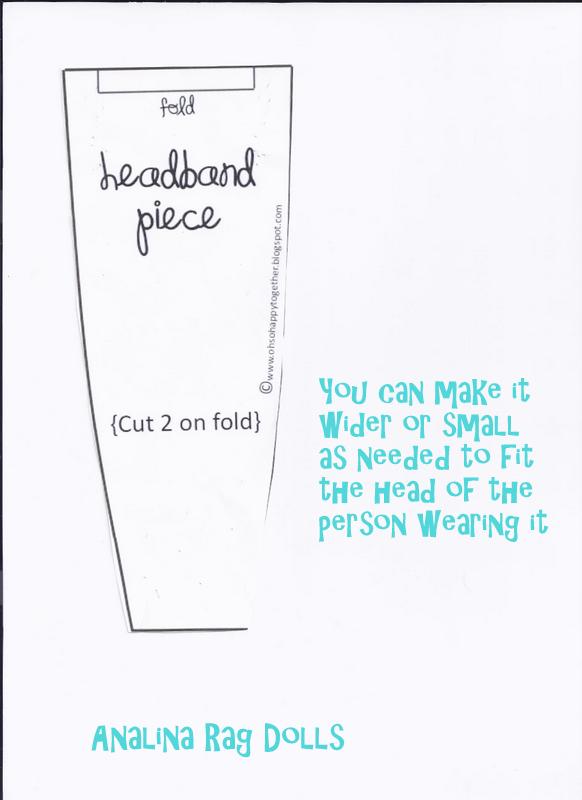
I sew with the needle so close to the edge as possible, so it is wider but if you would like it smaller change the position of the needle.
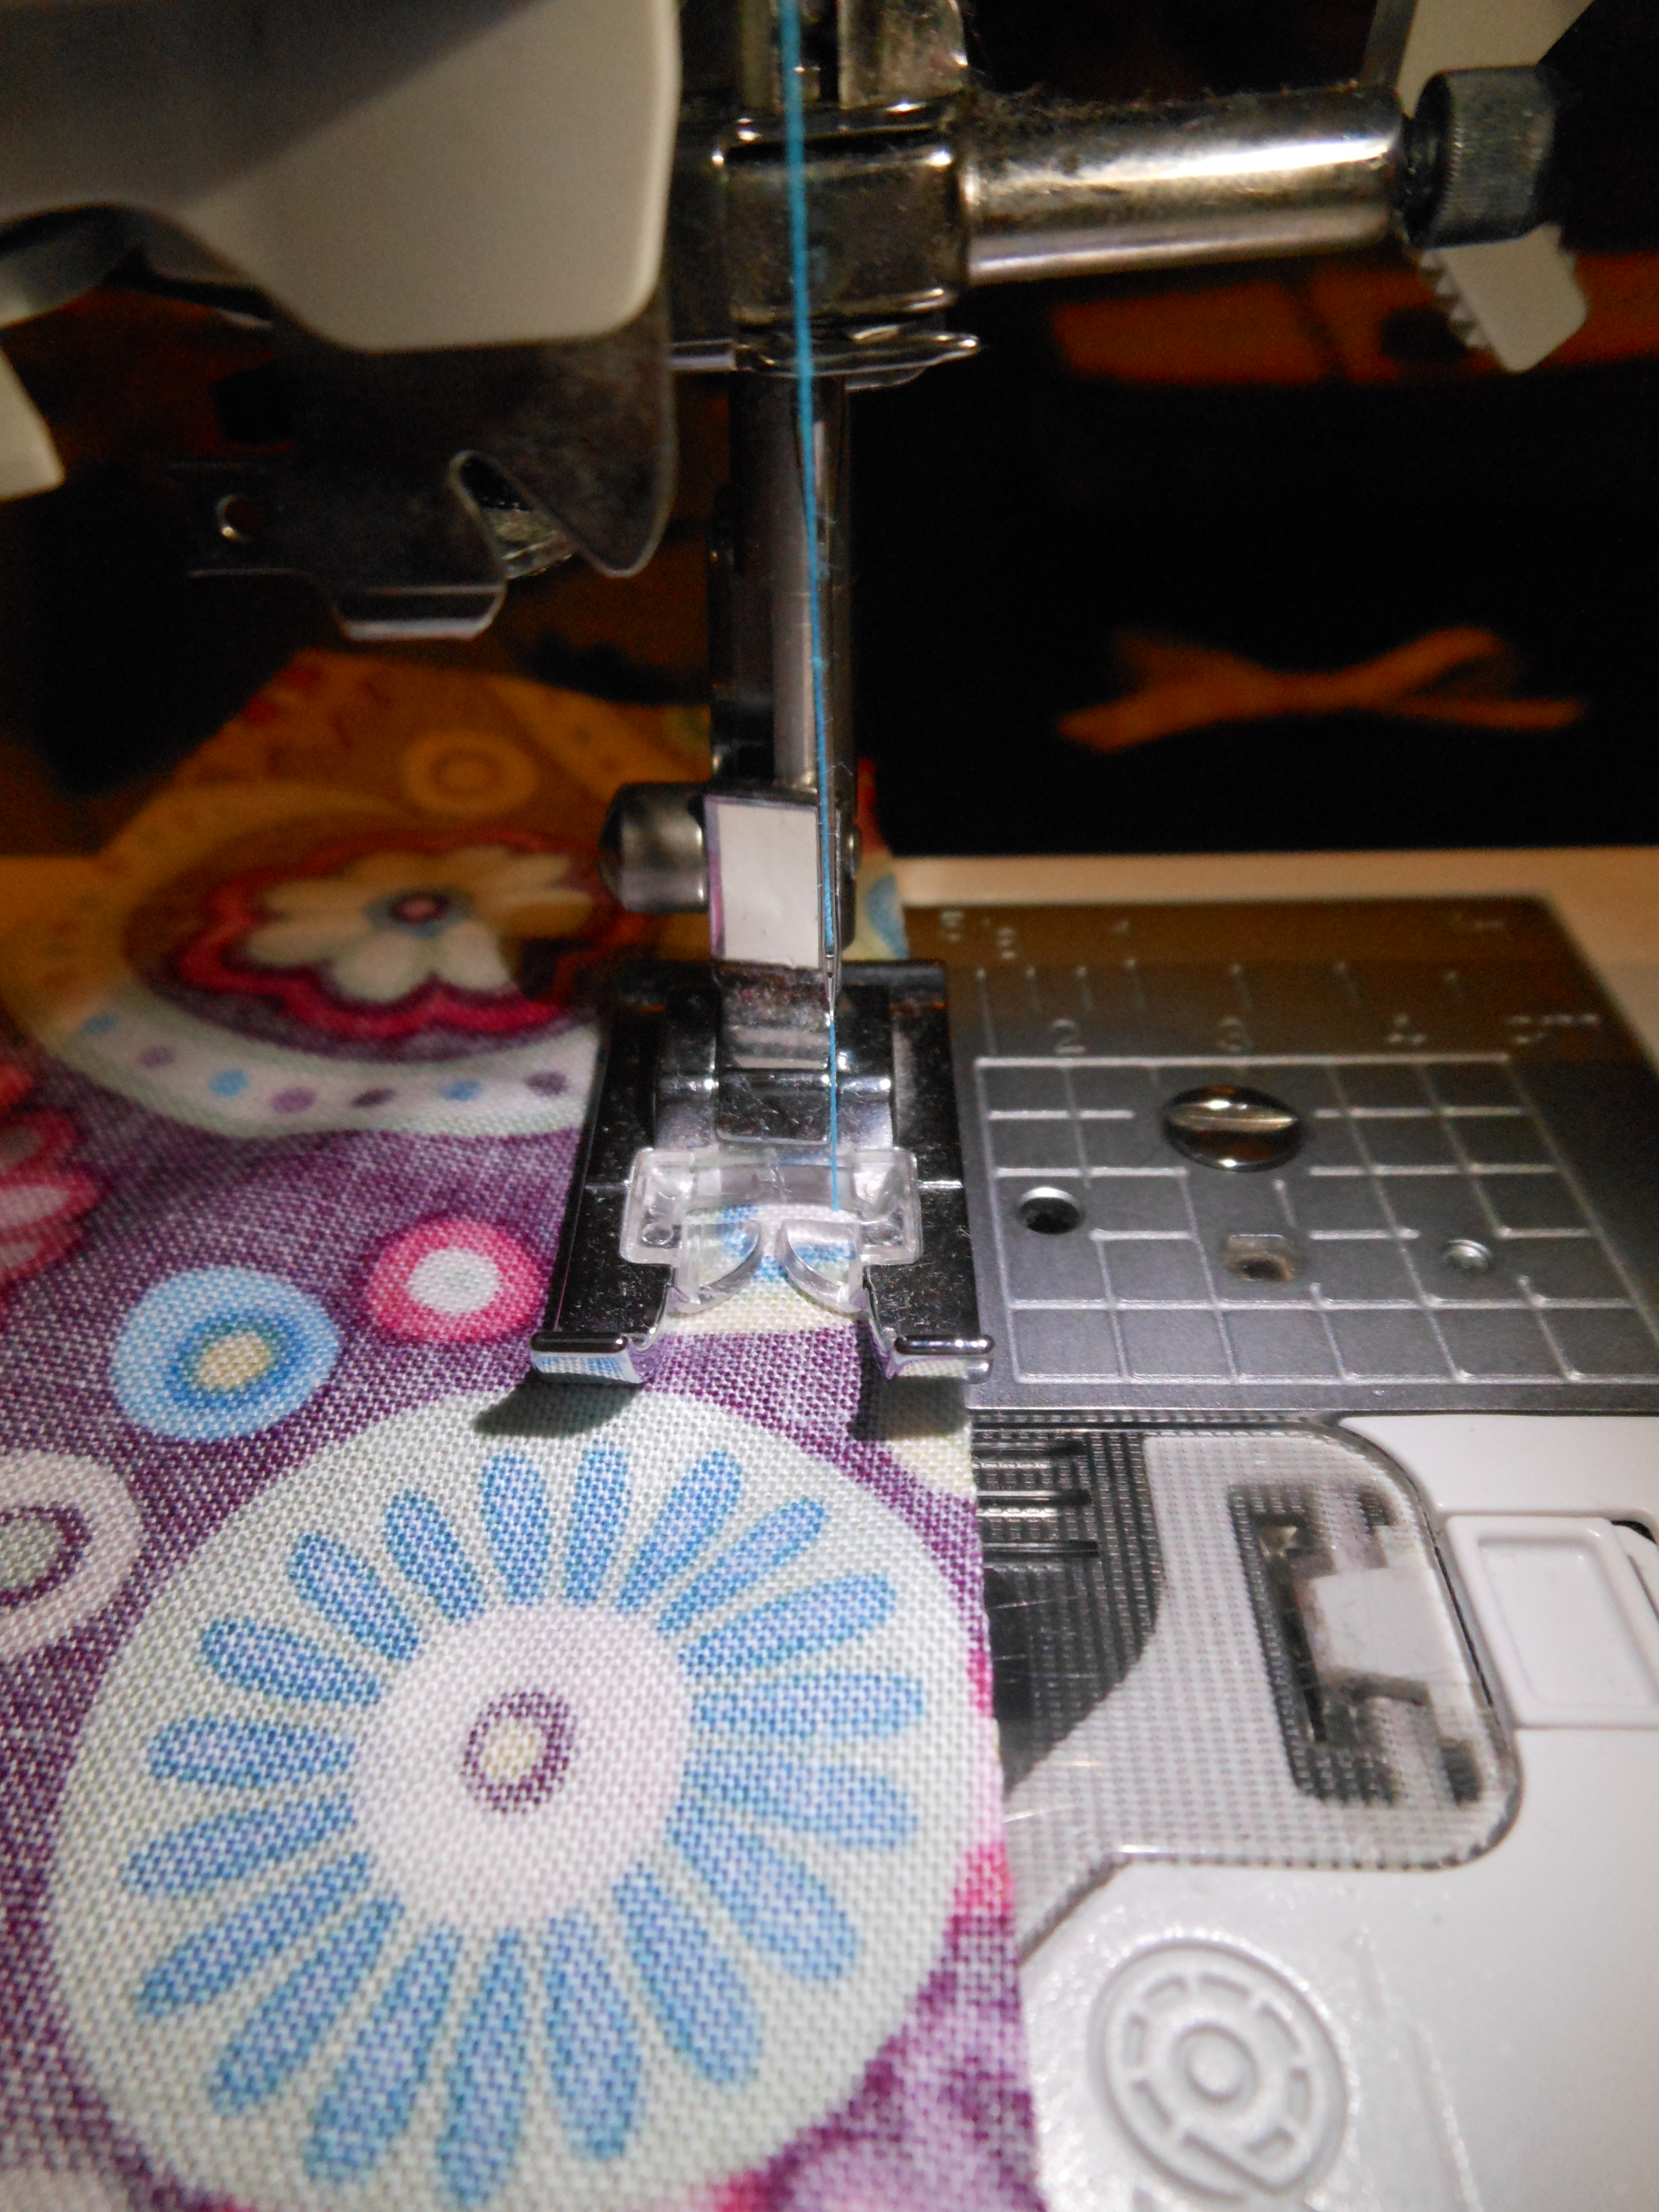
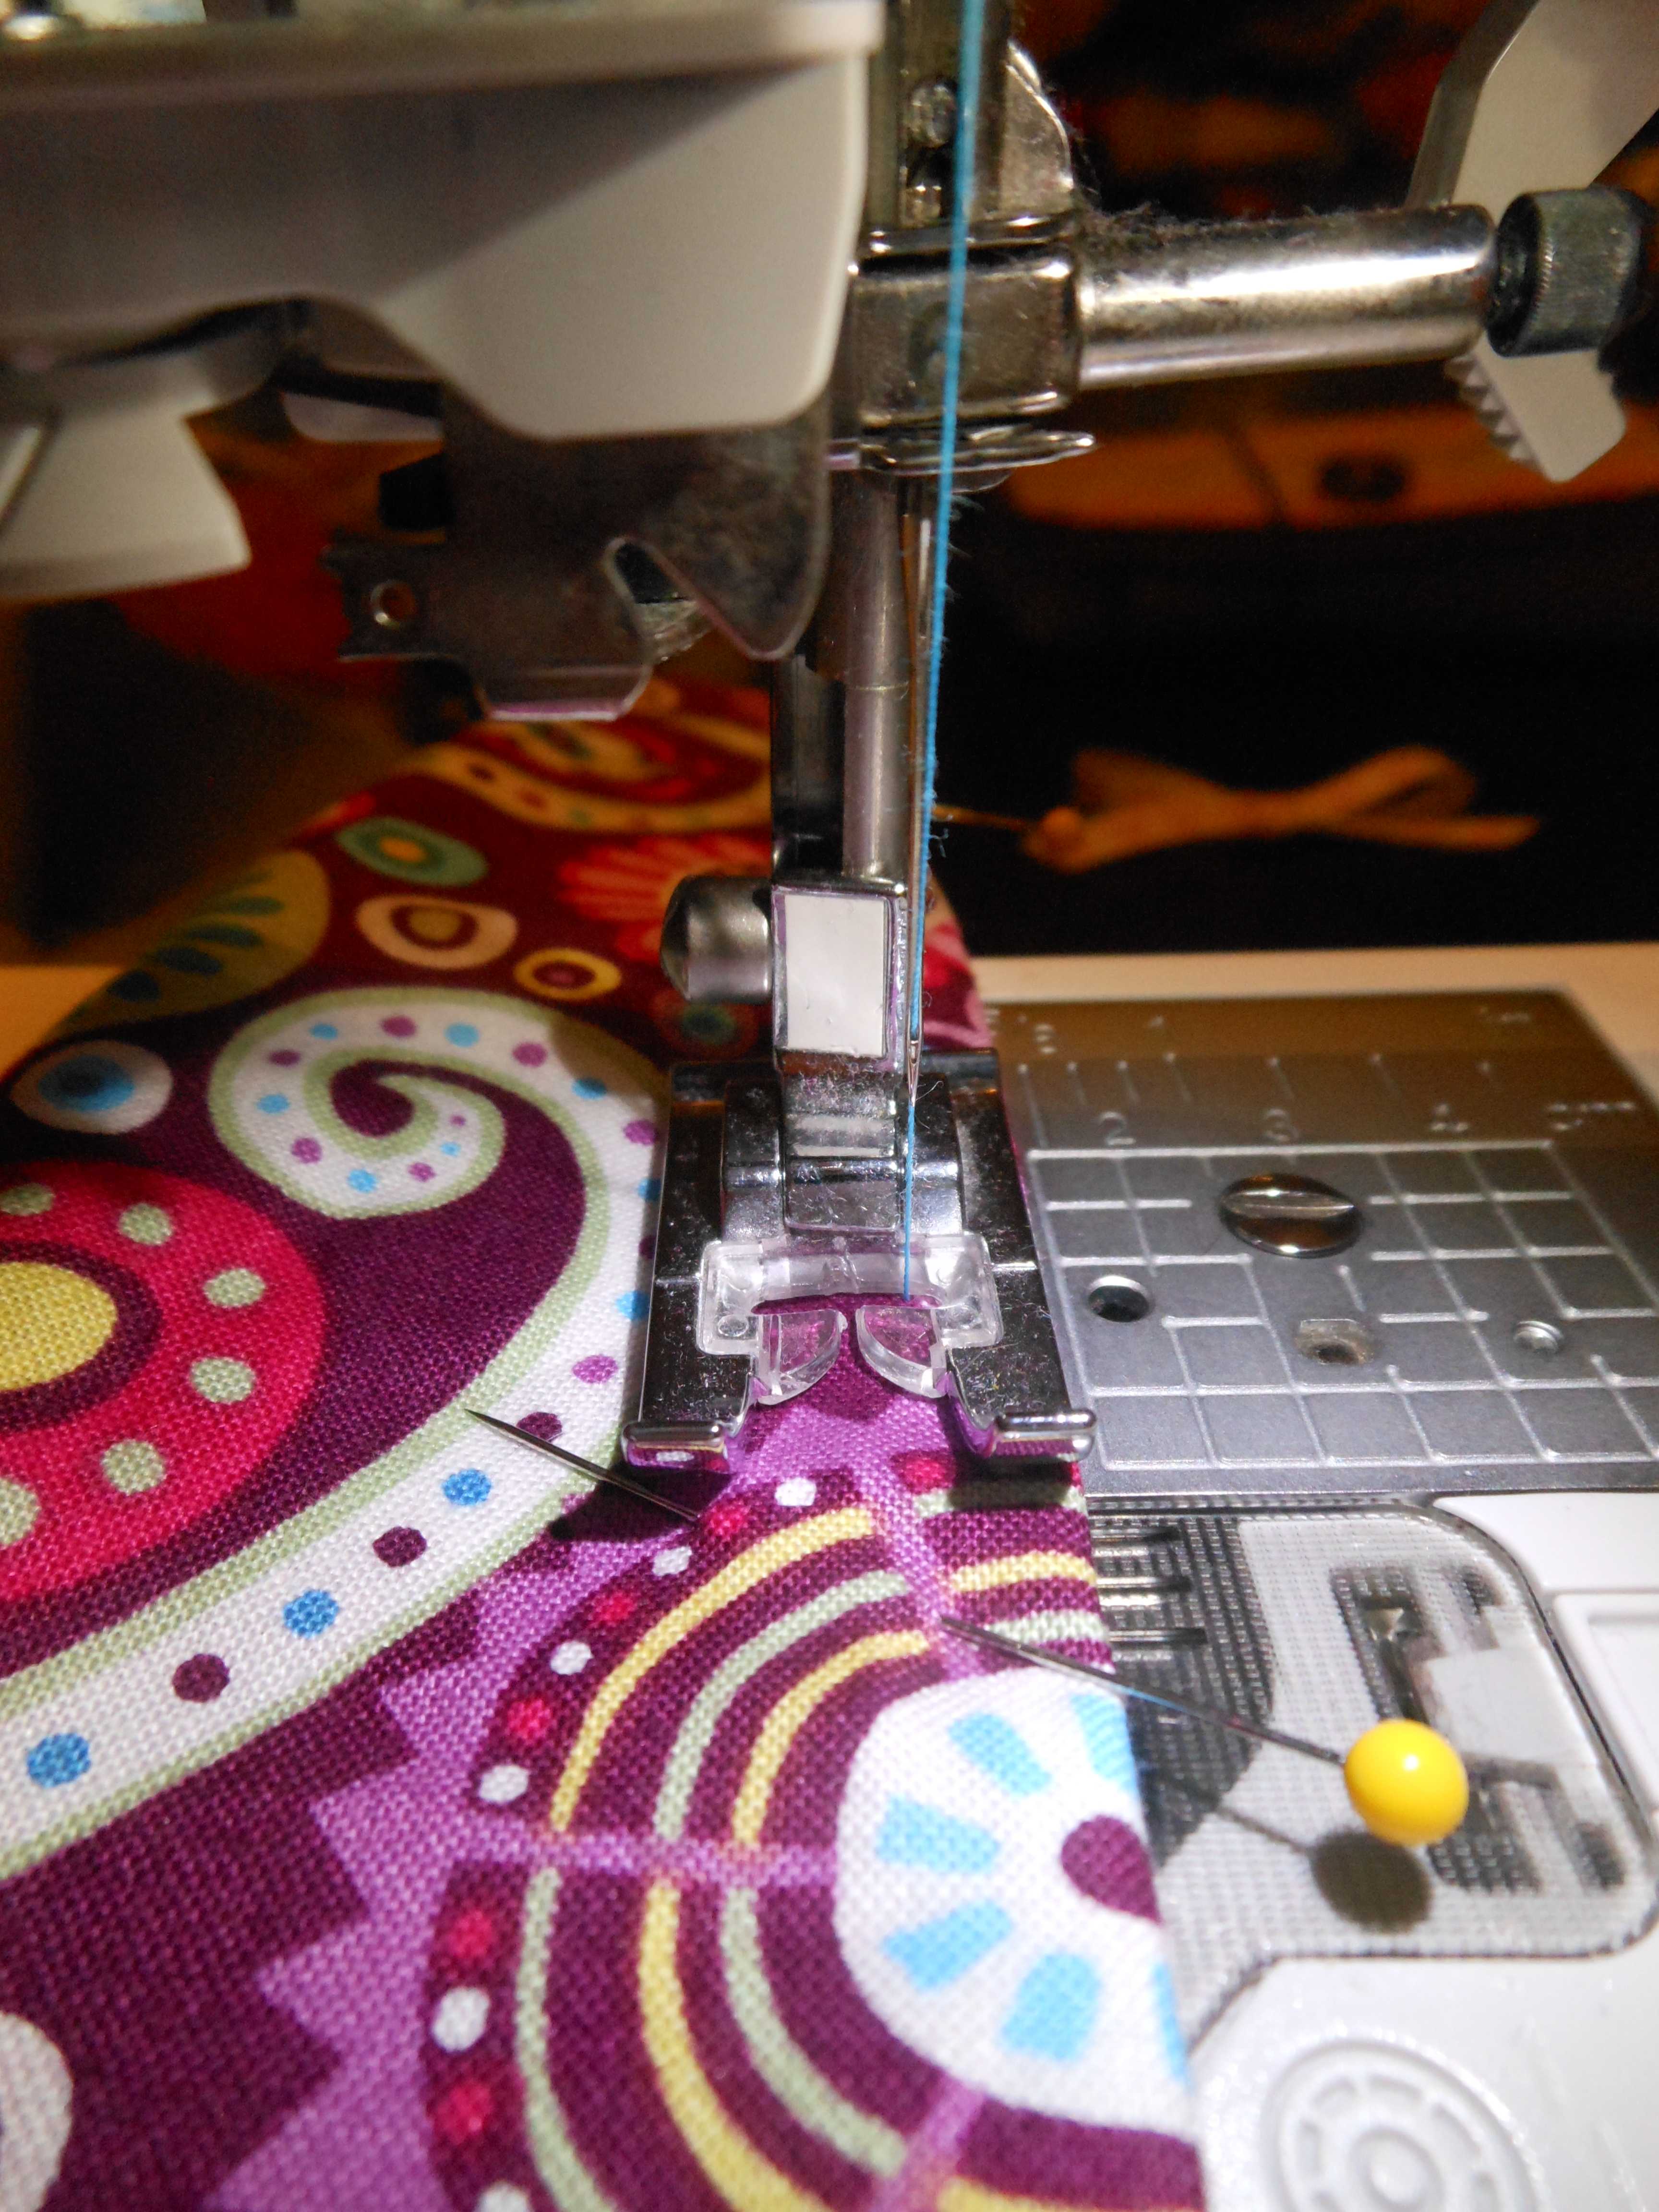
After that I turned it right side out and sew again with the needle all the way over to help keep the fabric in place and it looks cleaner. I didnt go all the way to each end as seen in the picture (to leave room for turning). If you go to far you can always undo a couple stitches.
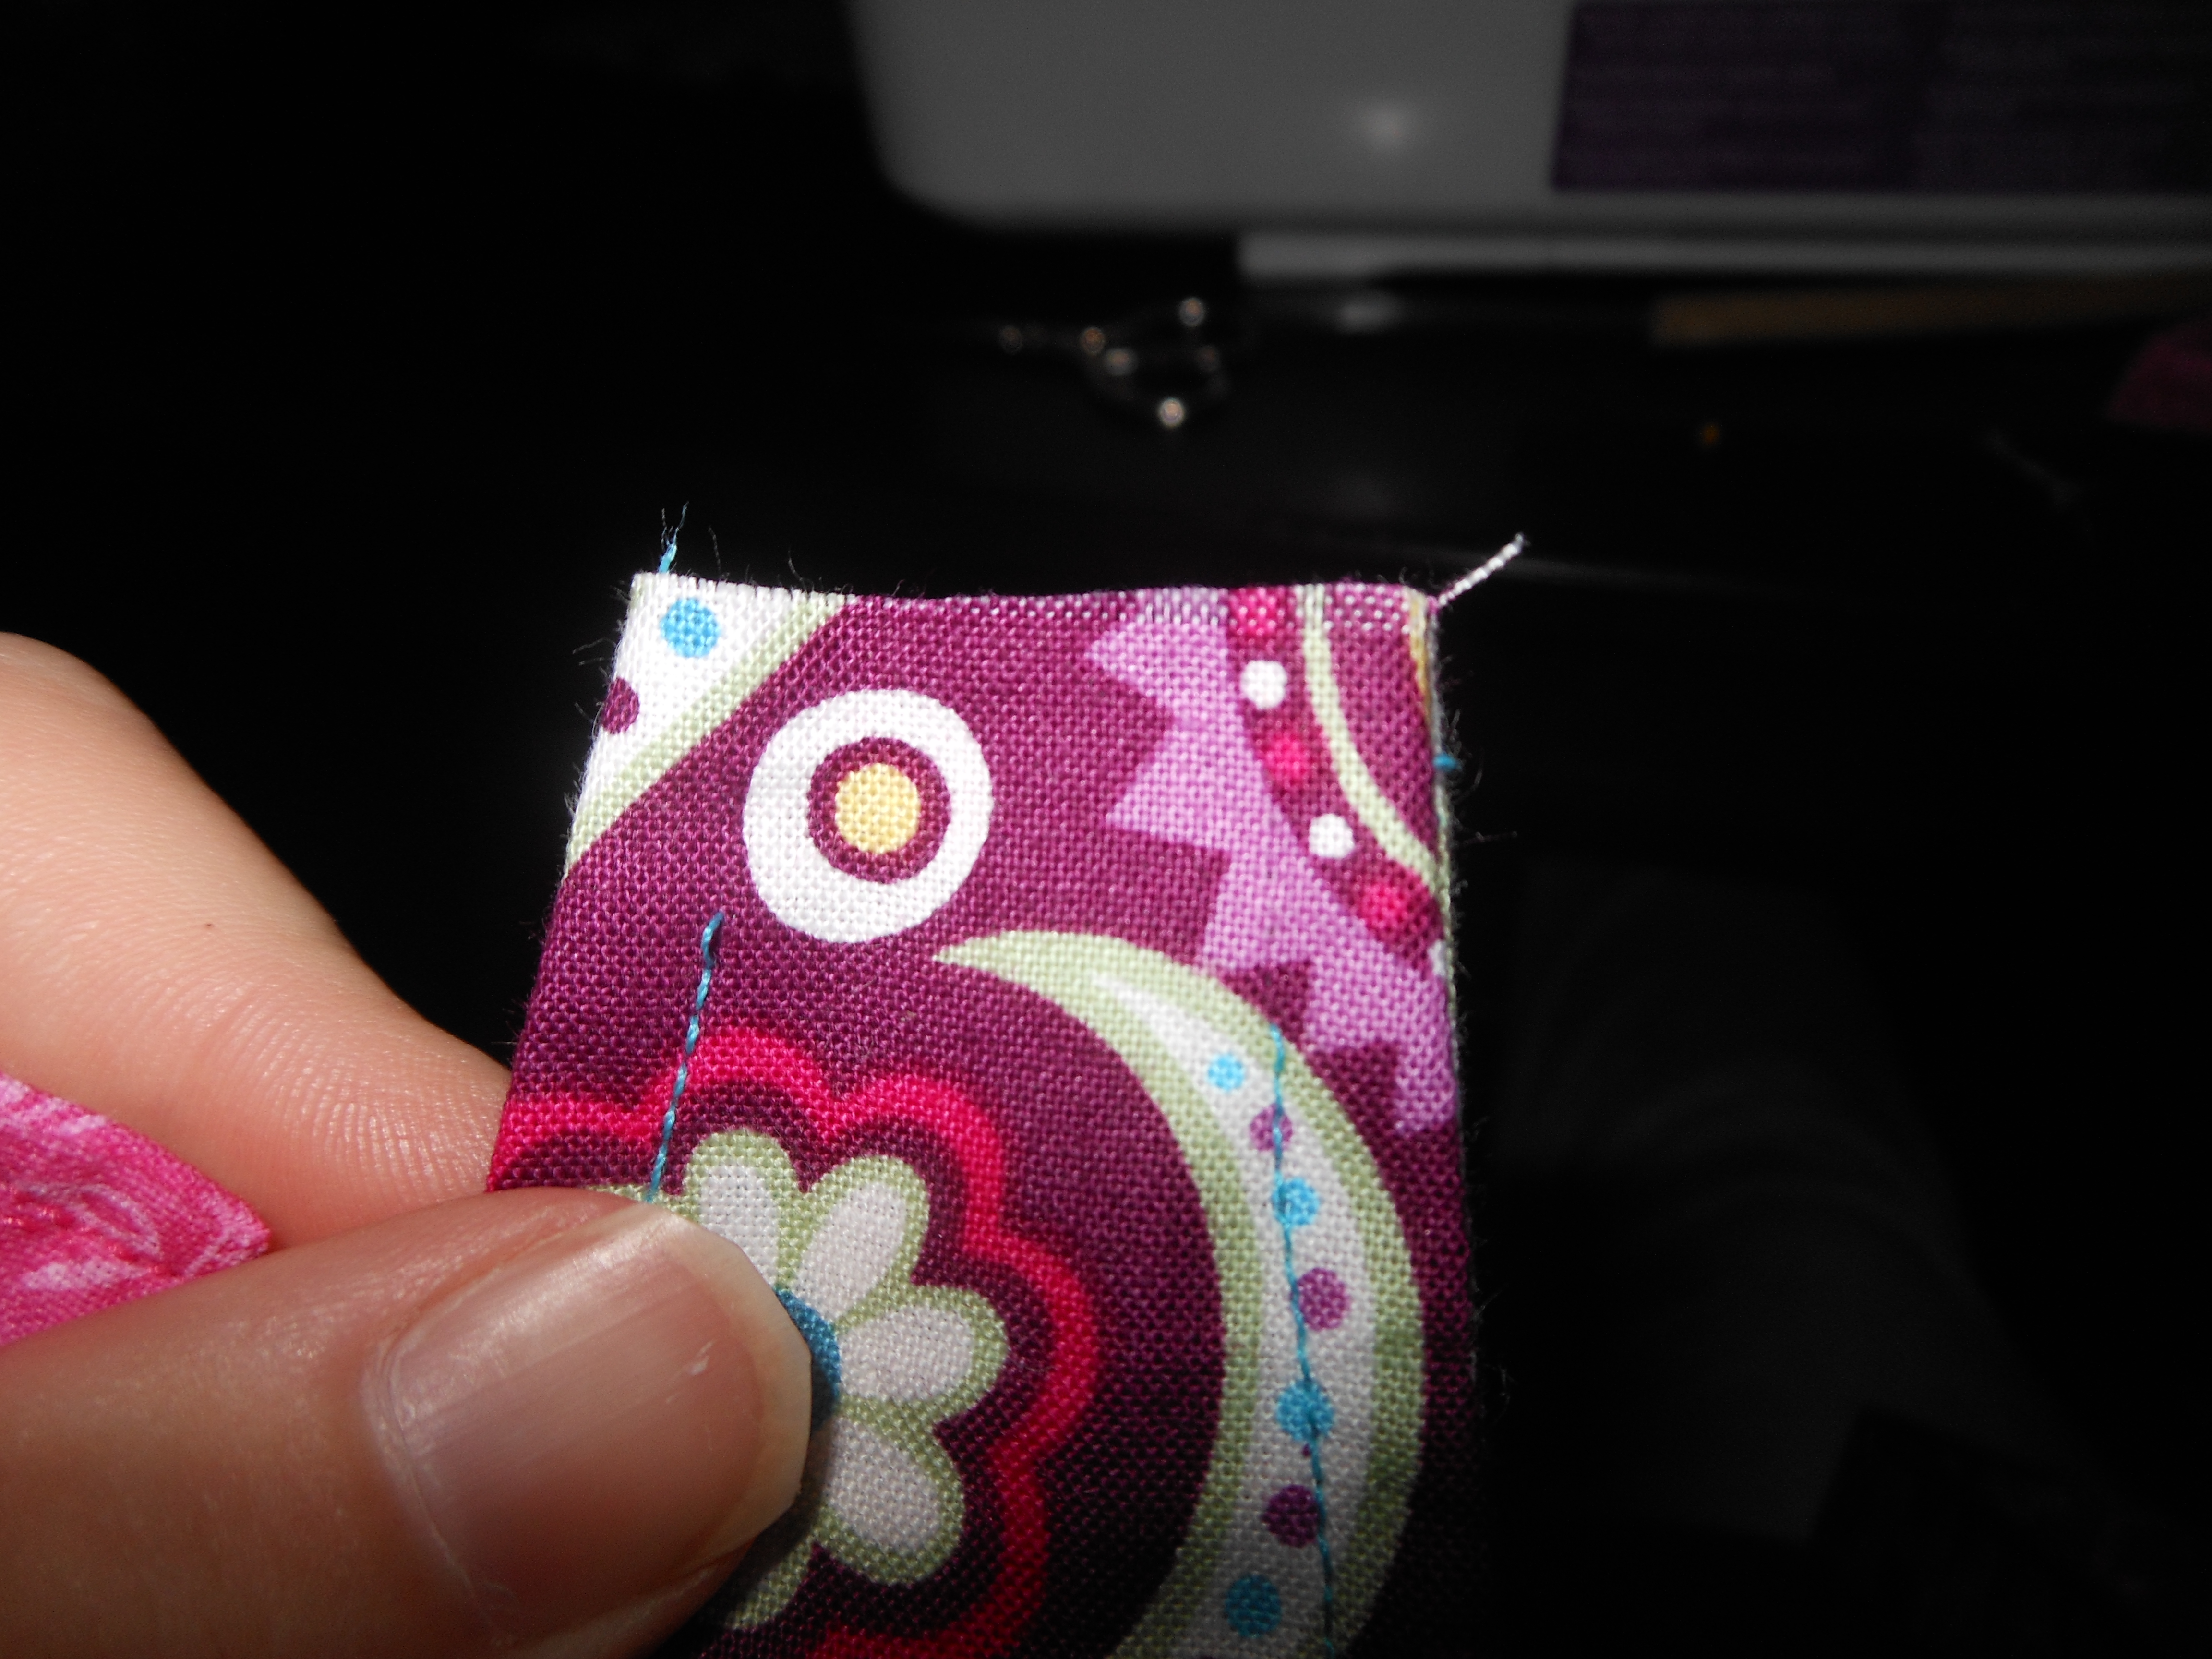
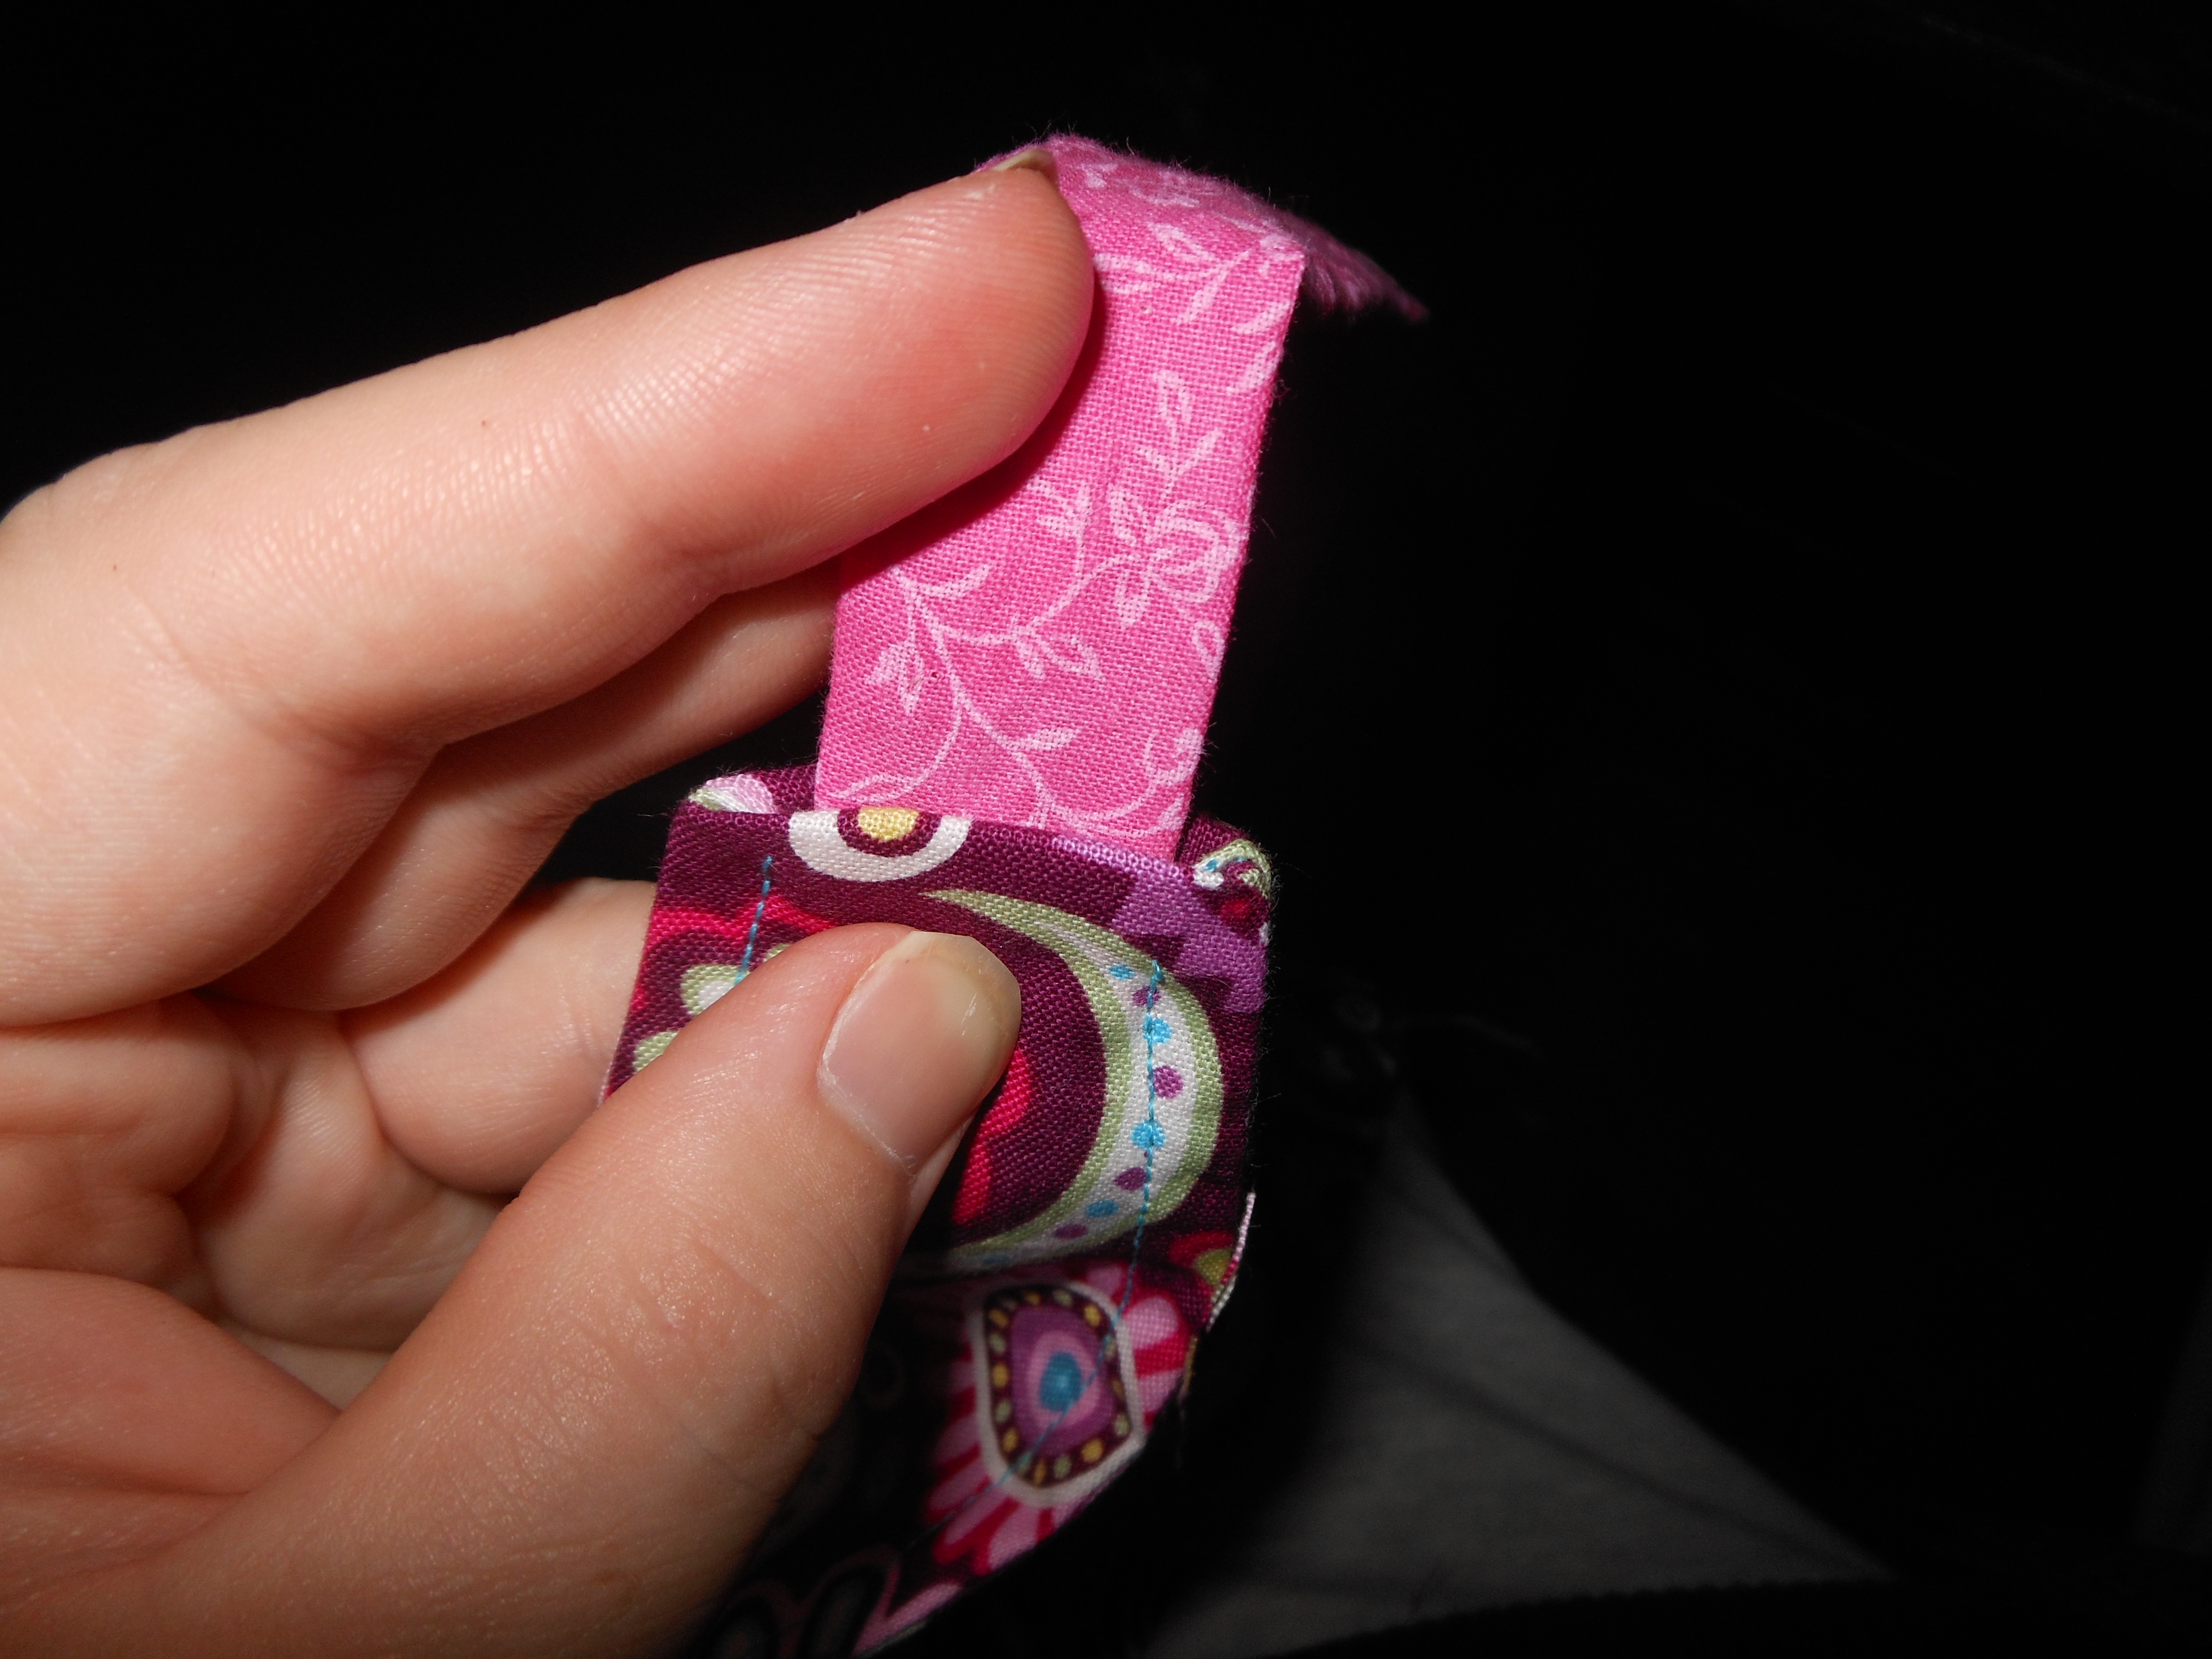
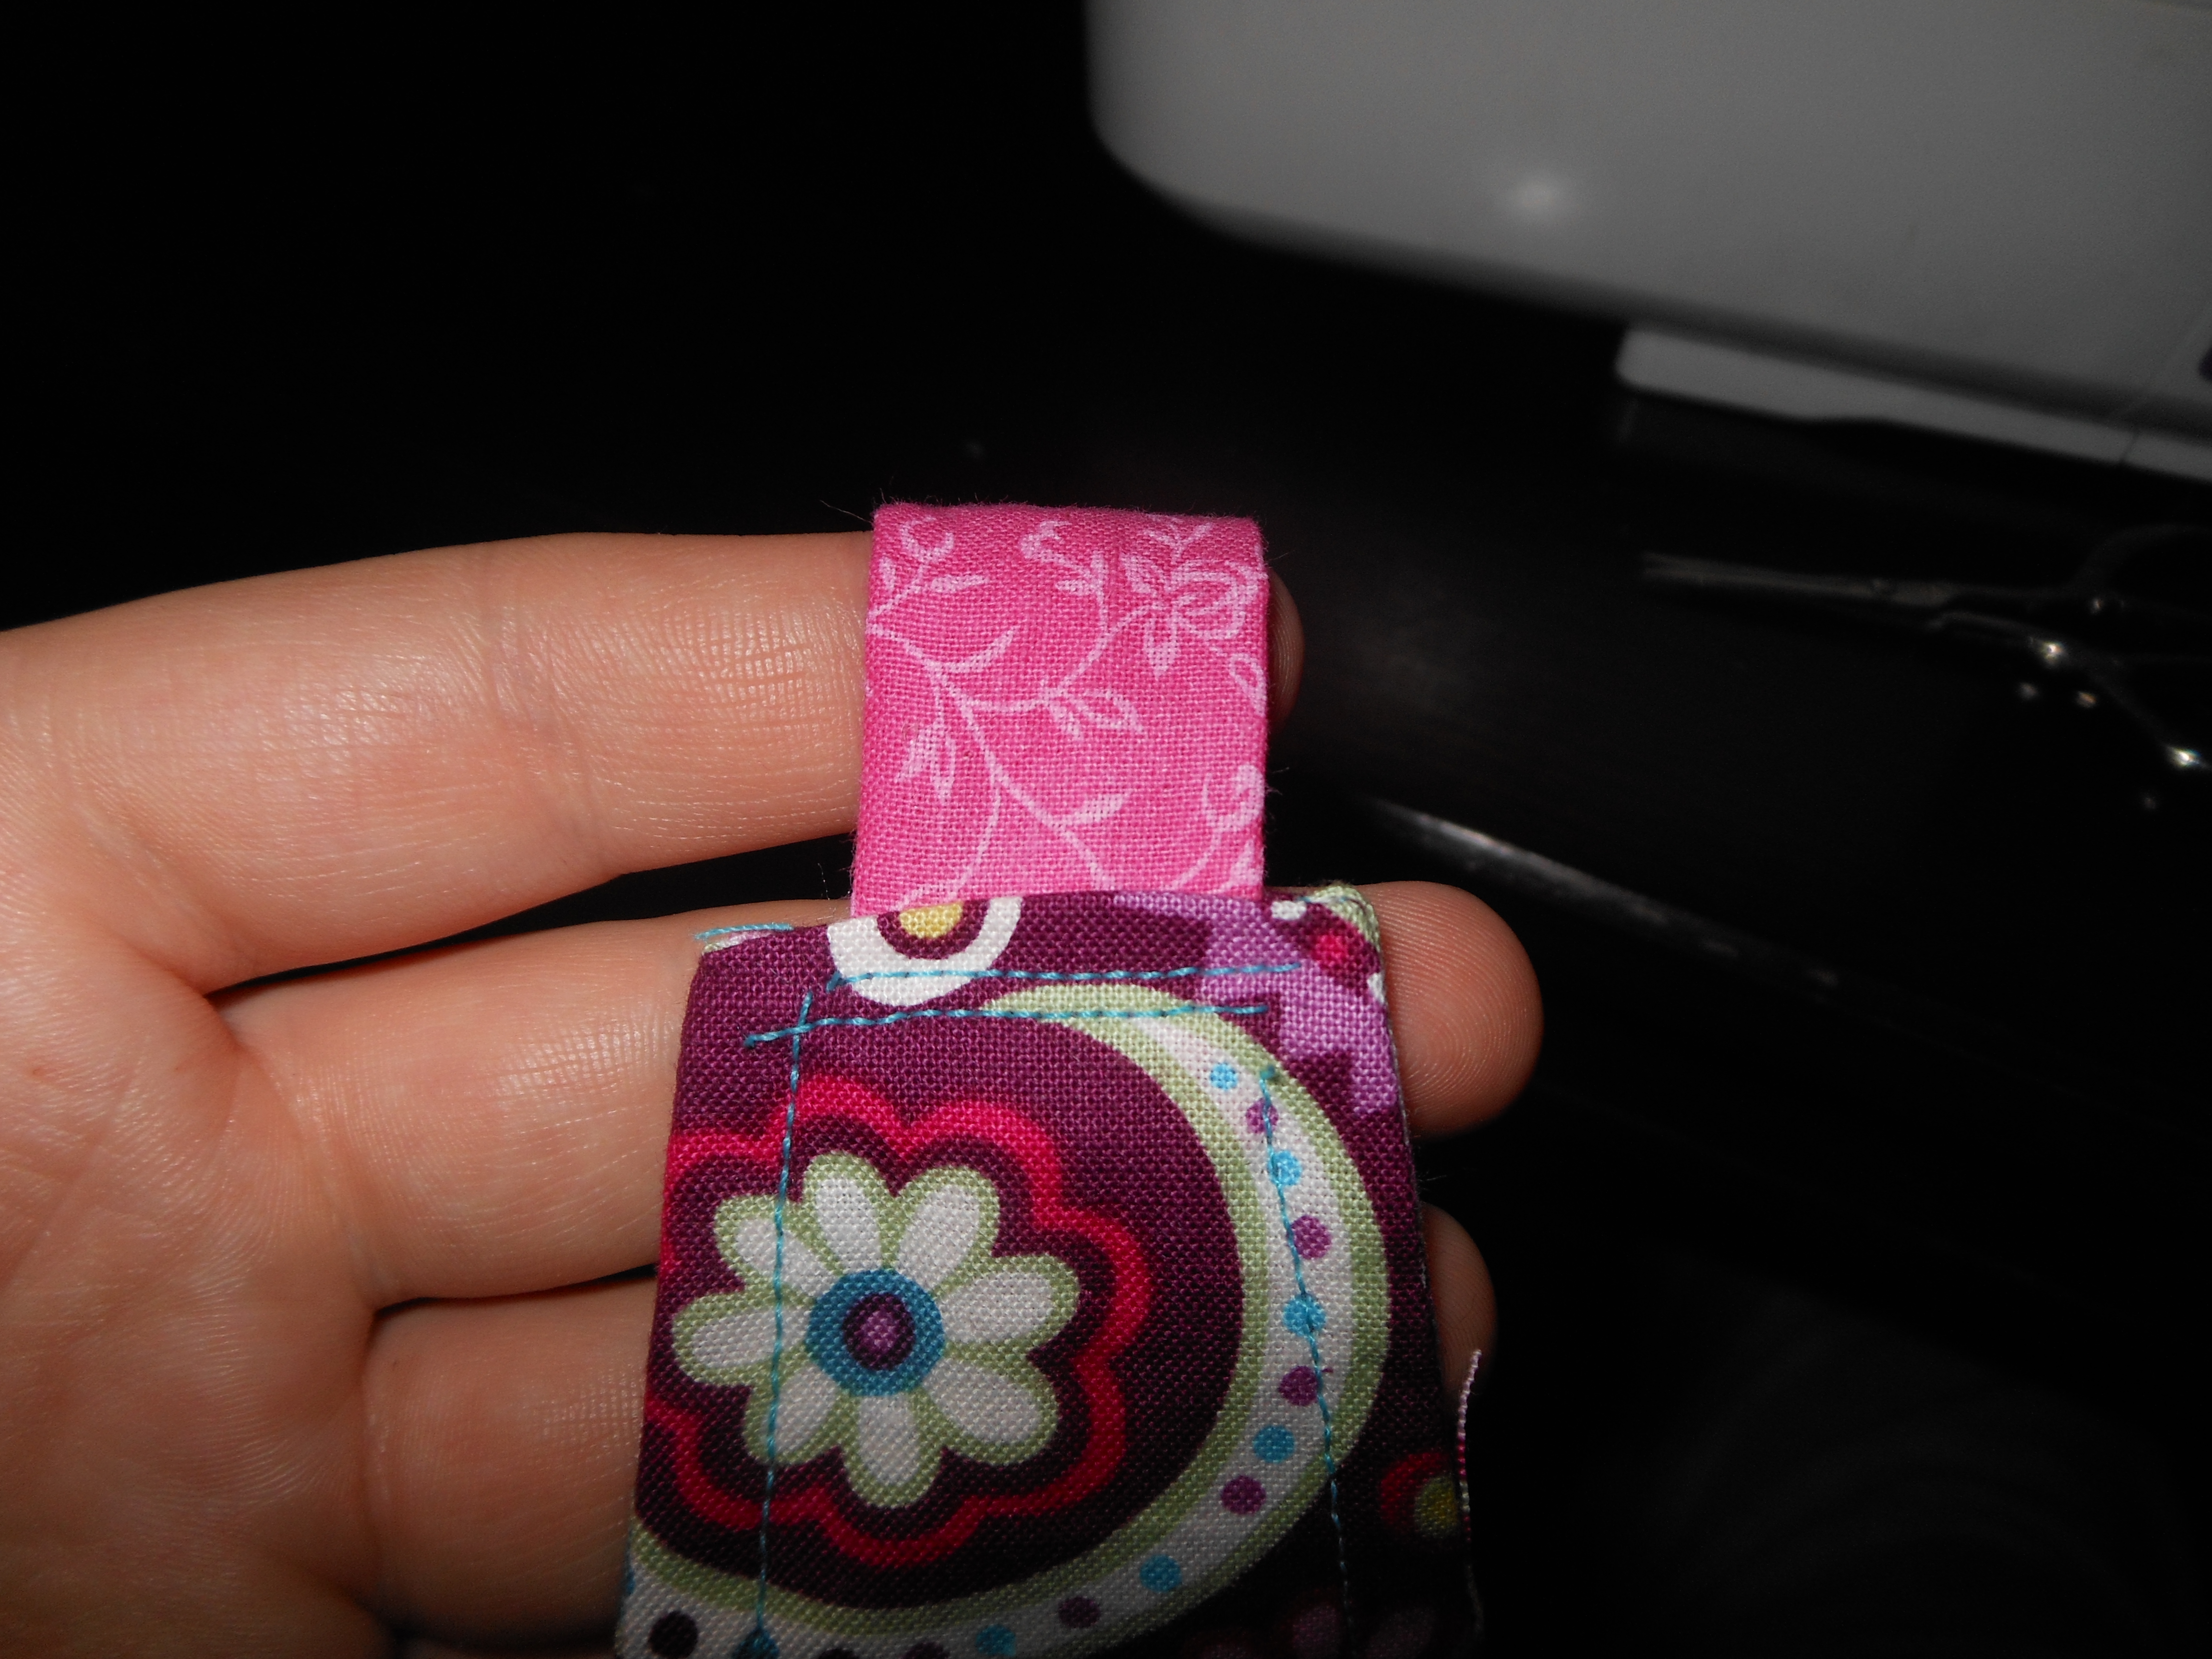
To ends in and put which ends you would like to use to hold the hand band on head, I used ties but elastic good. Then sew 2 stitch to hold the ends and I do 2 to make sure it holds tight.
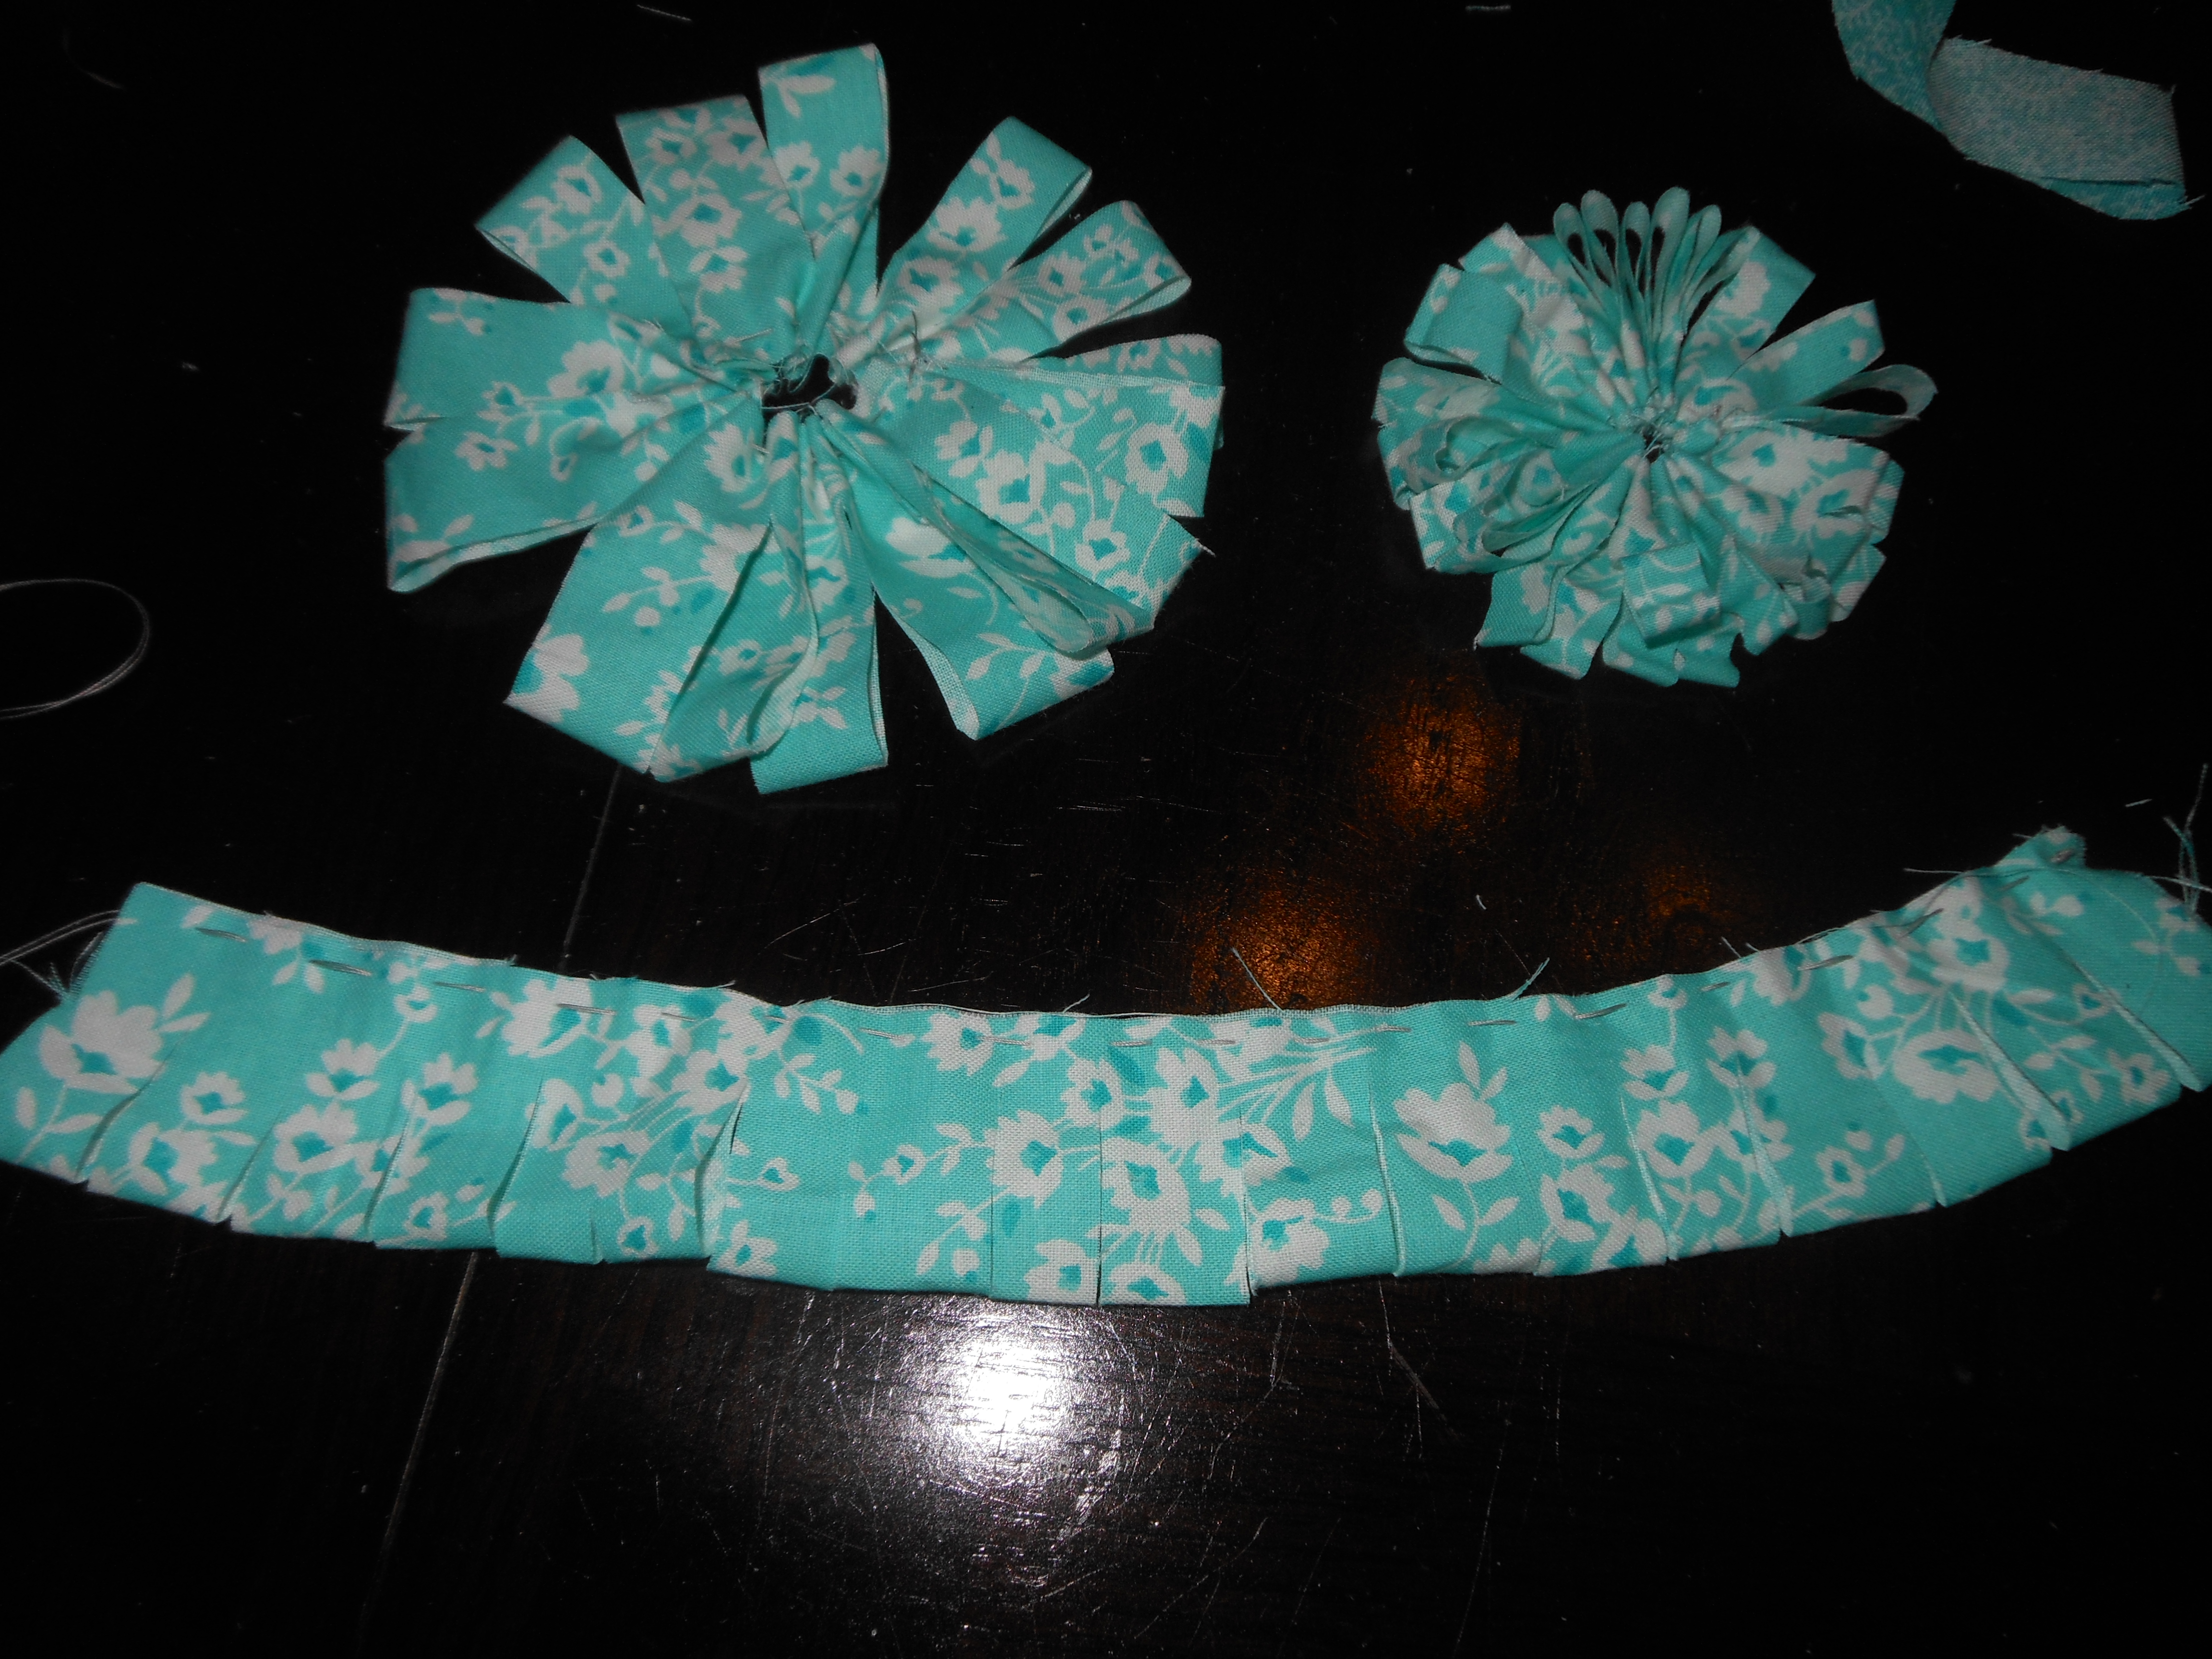
Now get all your scraps and make flower as you please to add to the hand band, most of my flower patterns come from Pinterest (linked below).
I will have more direction of these flowers later this month but it basically a whip stitch to gather the fabric and hot glue it to a piece of felt.
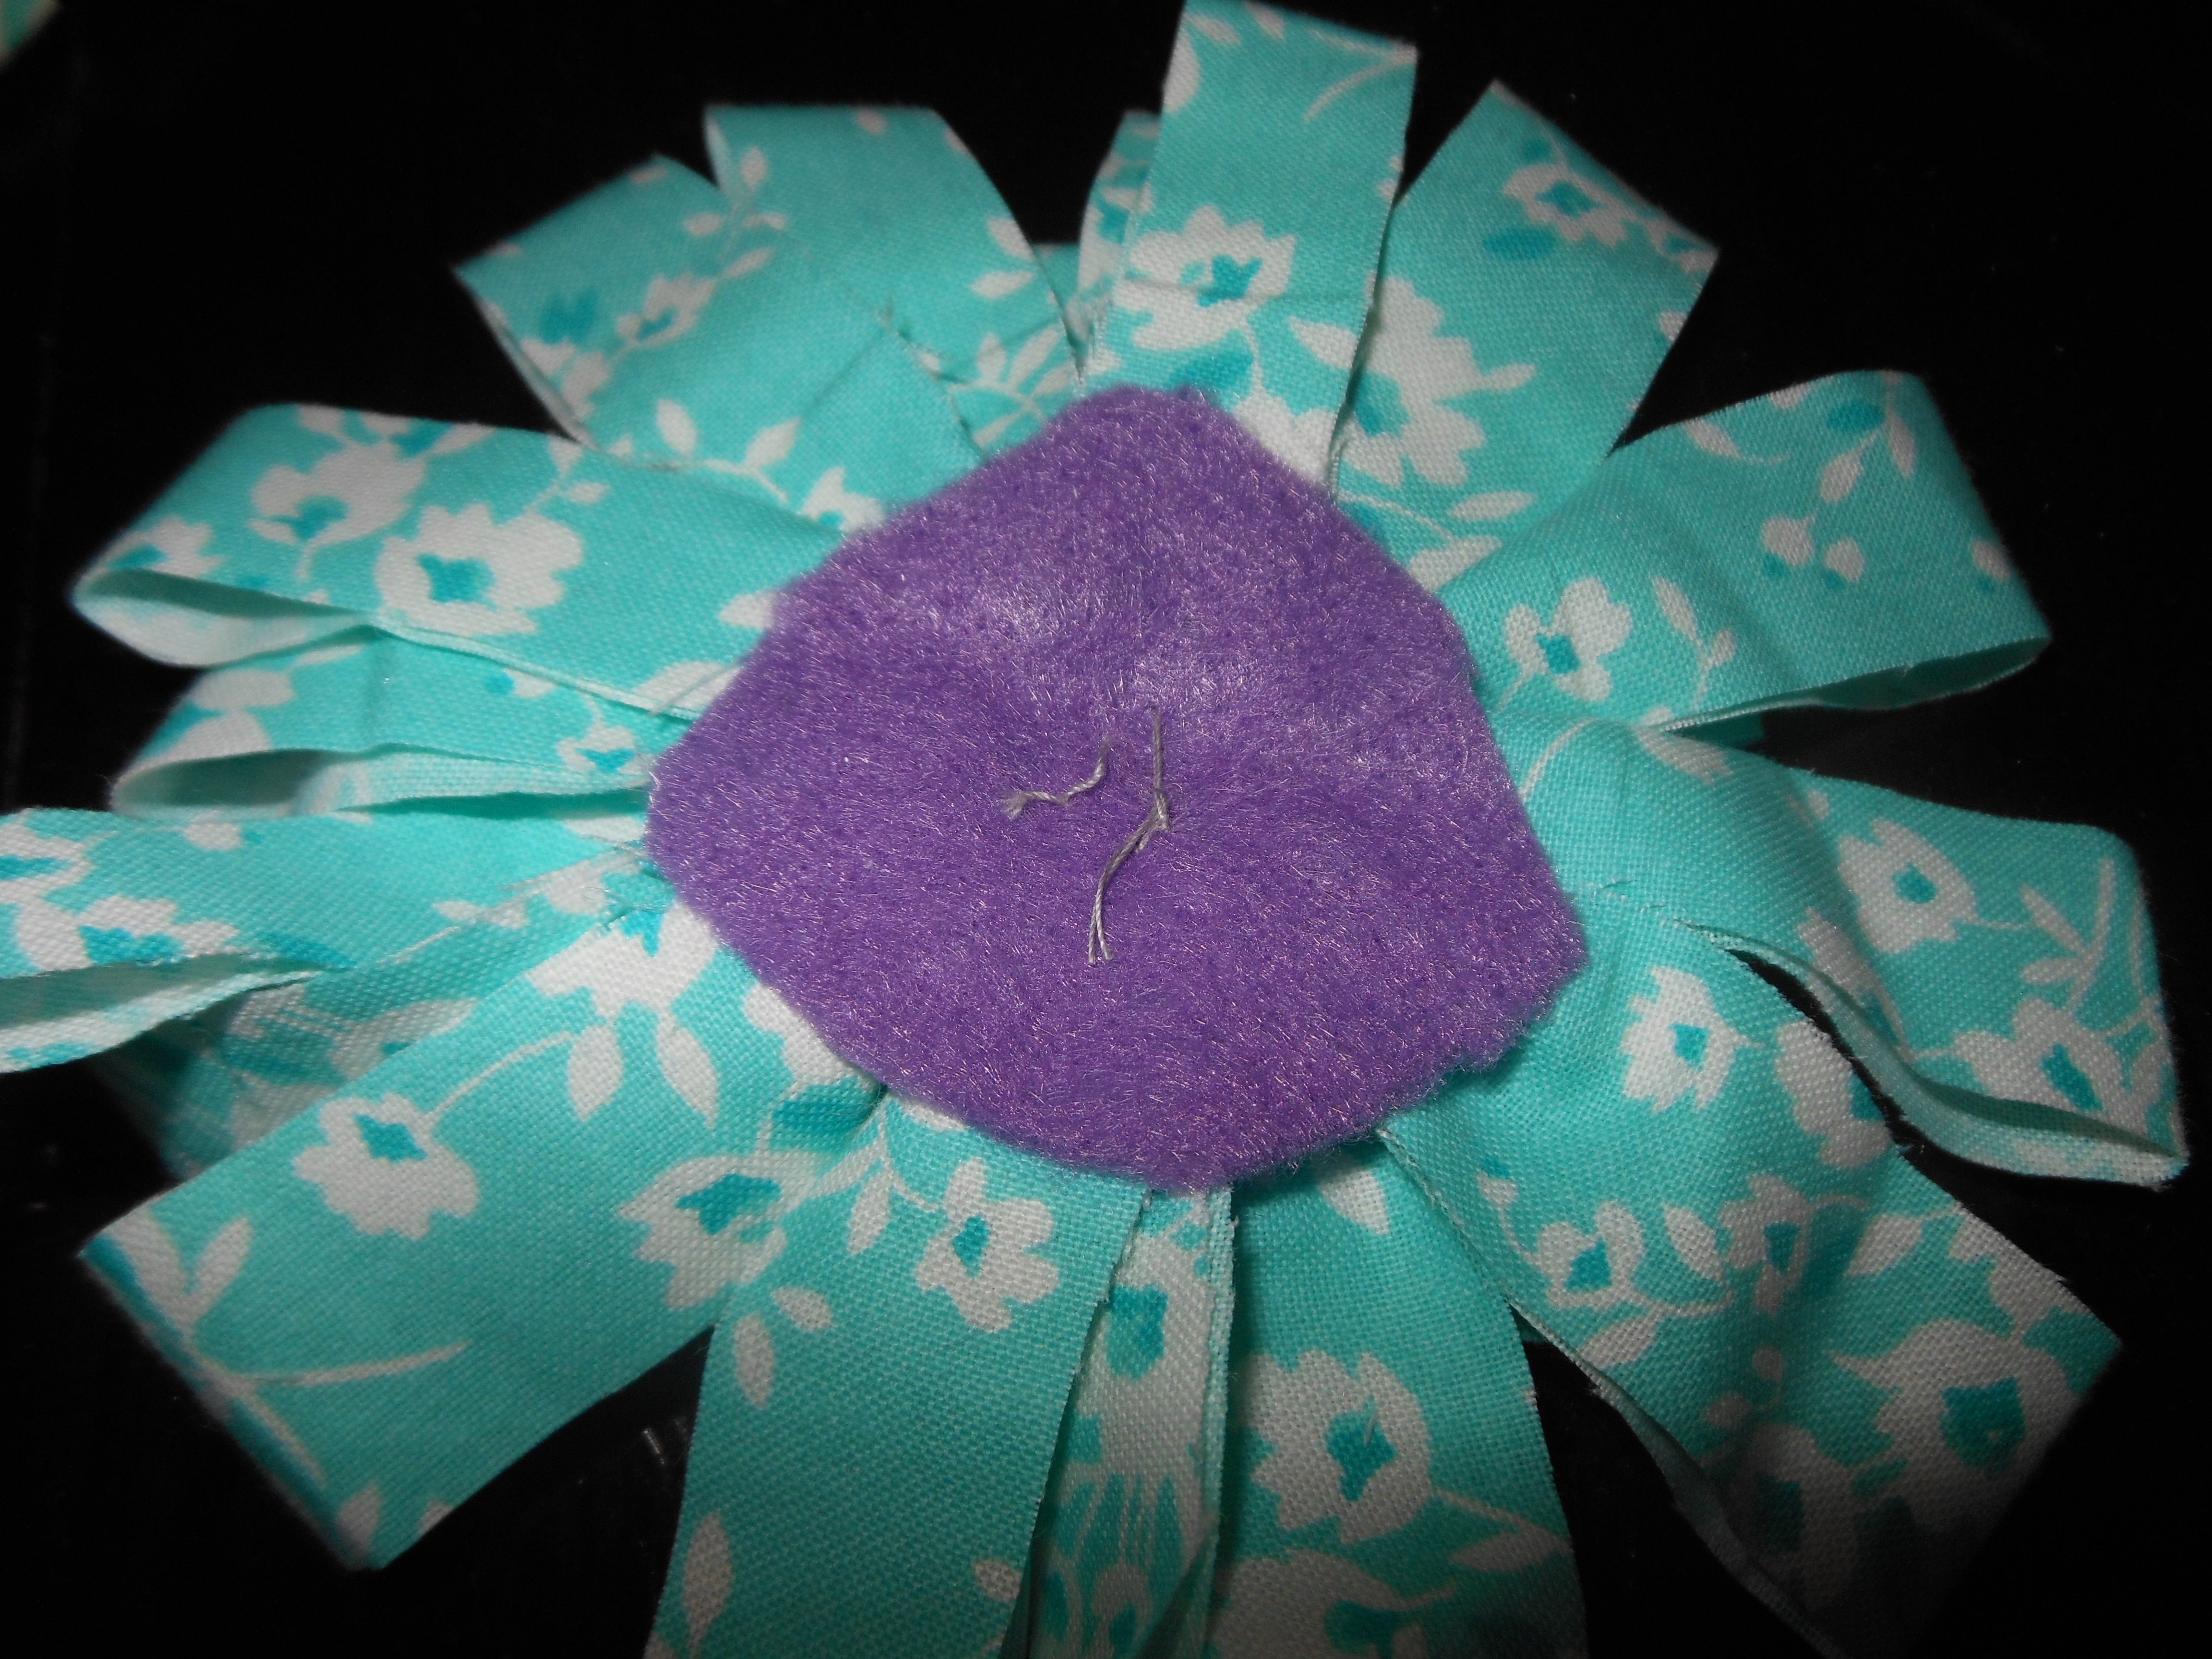
I also hot glue the flowers to the head band and then I sew the around (where the felt is) to make the flower more stable (so it doesn’t flop around).
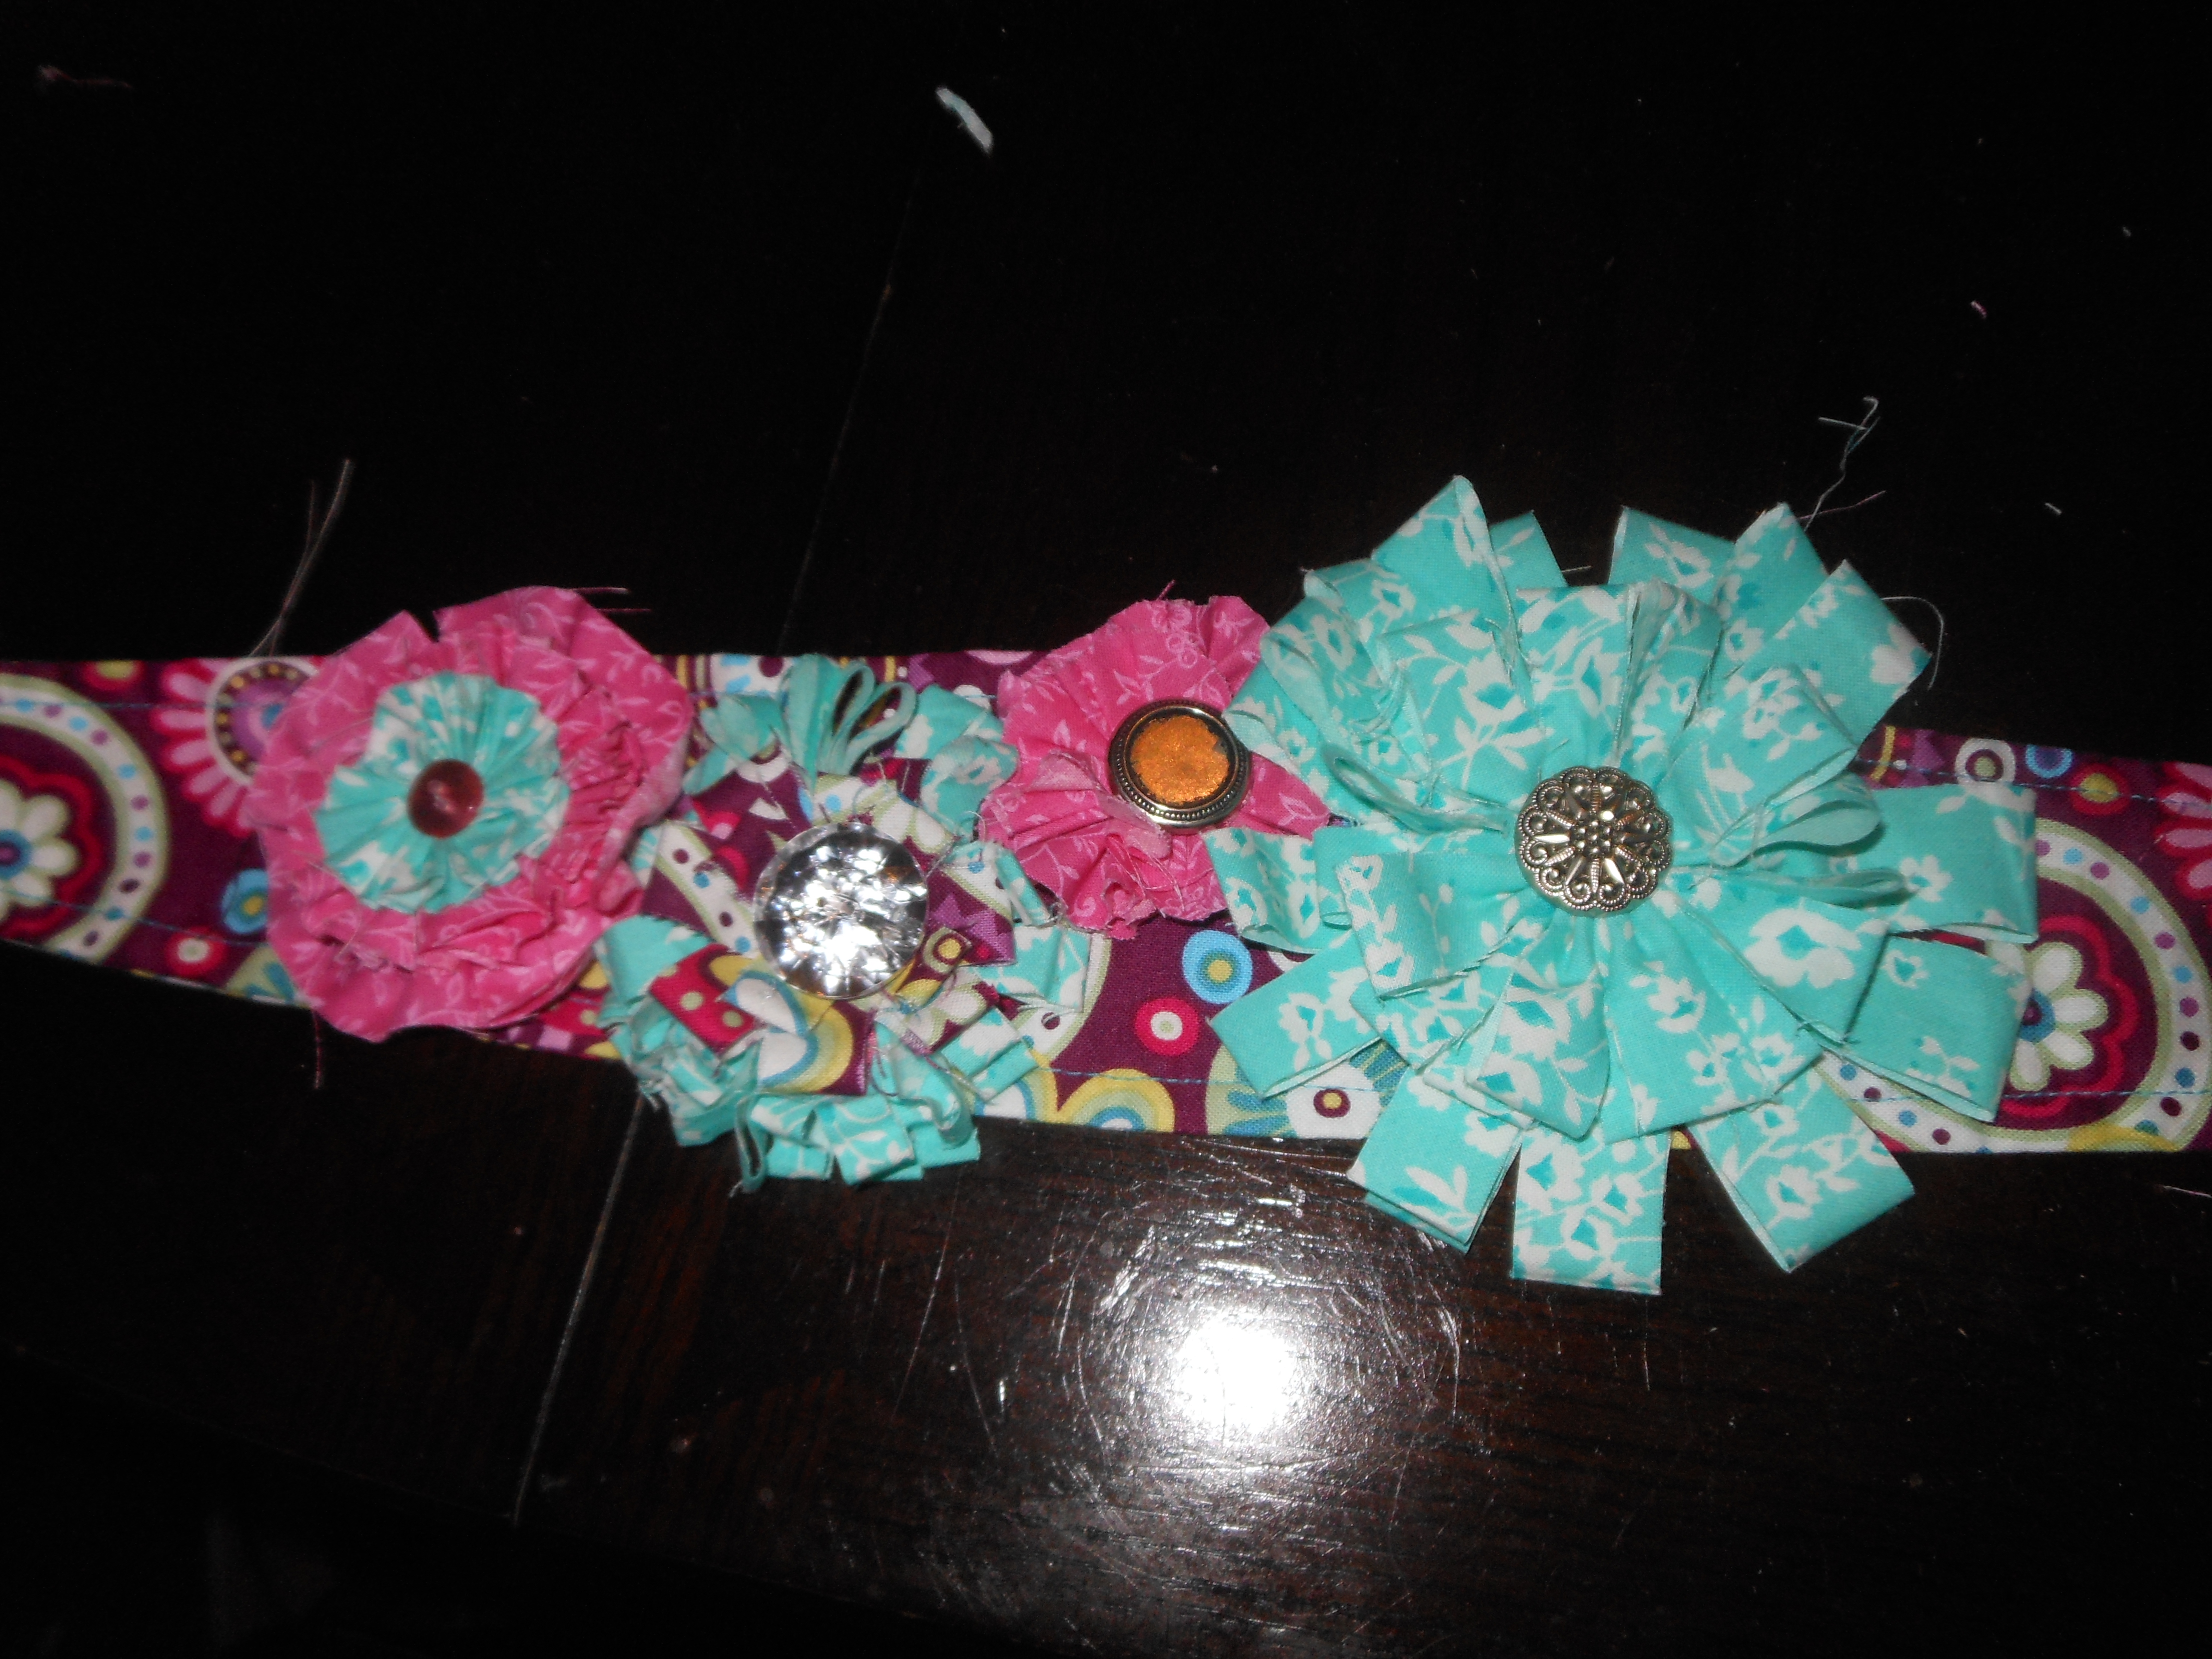
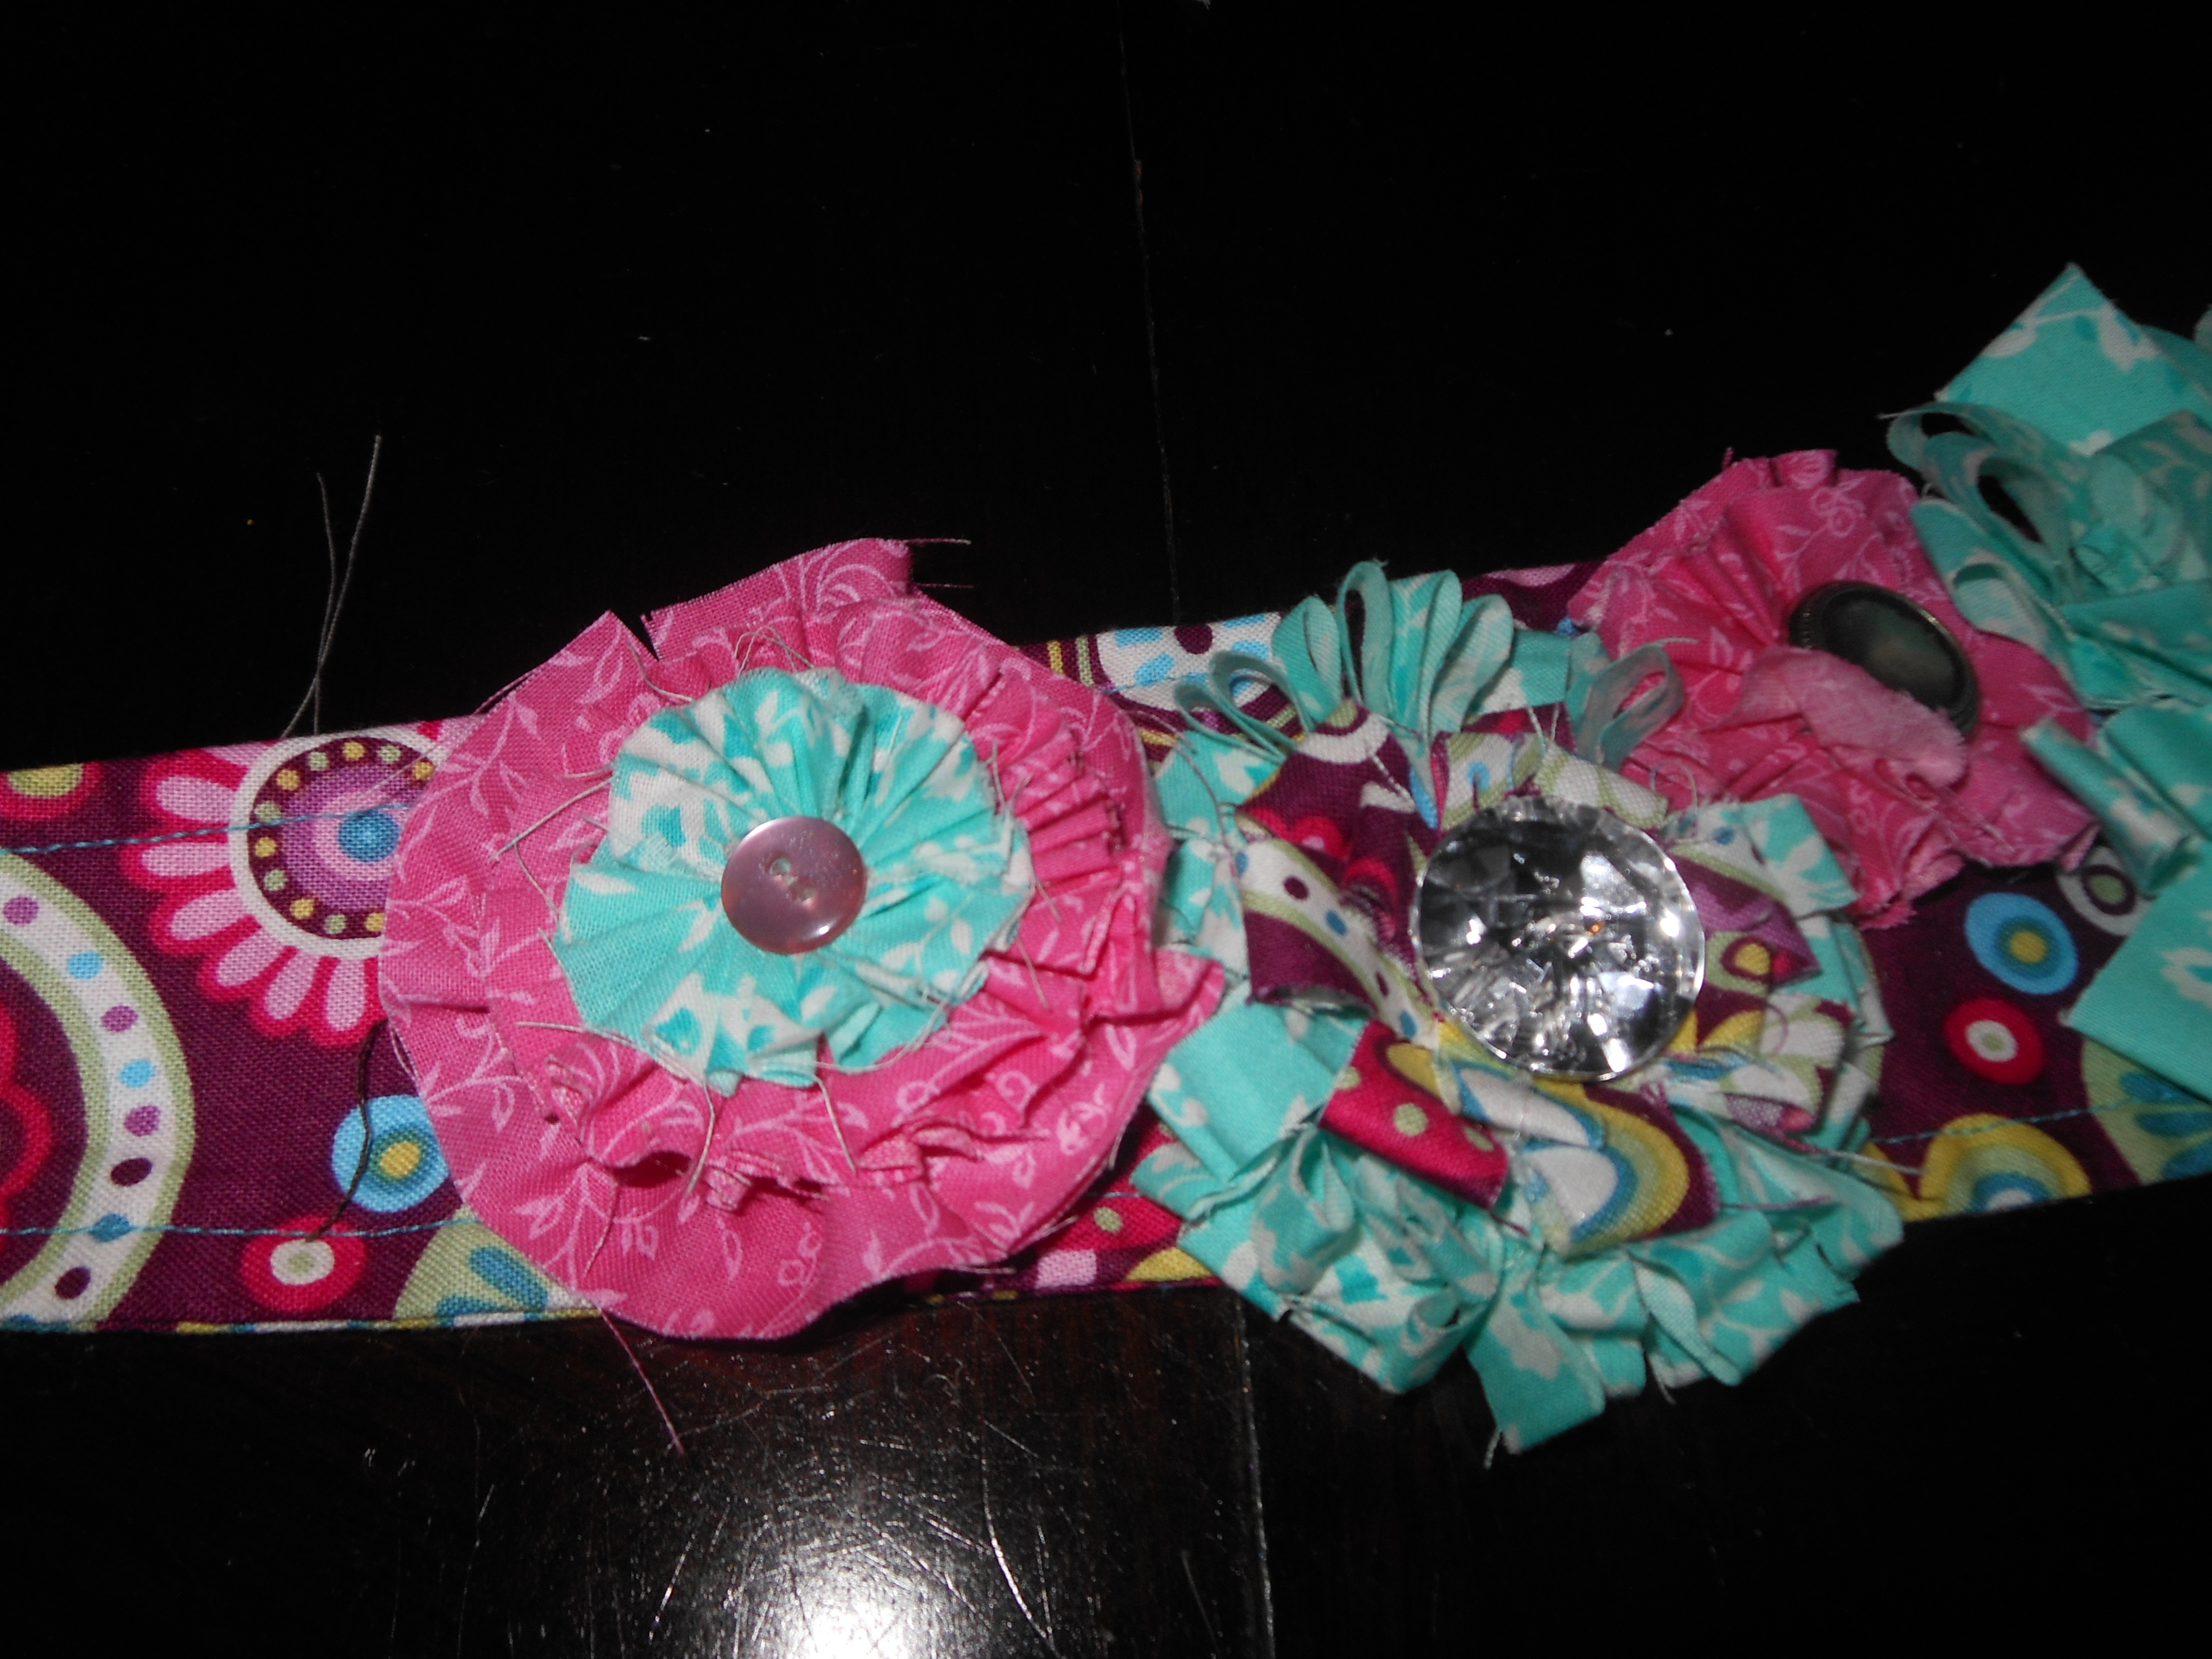
I made this one for a belt and another for a head band but the can be interchangeable


I have a Pinterest board for DIY headbands and bows.


Pingback: Outfit Peasant Top with Belt and Lace Jeans Toddler Girl | Analina Rag Dolls